Using components.ai complex gradients in figma
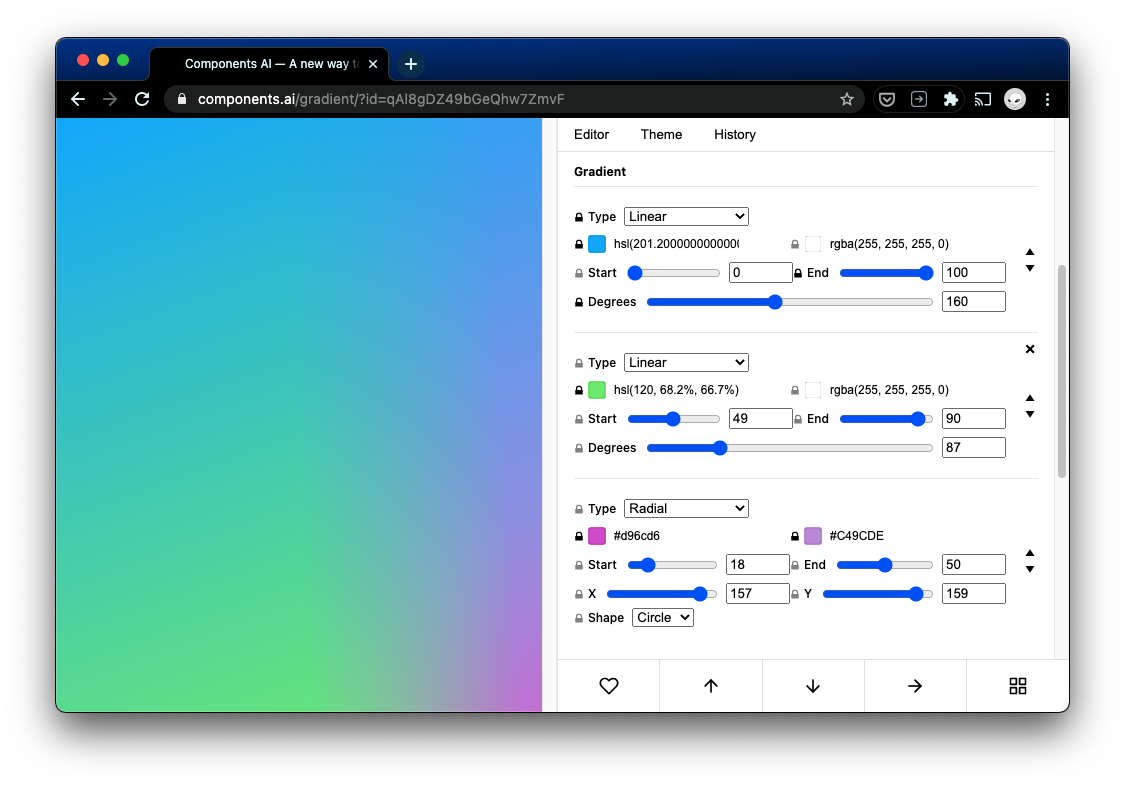
Given a gradient such as this, generated from components.ai, how do we use that in a design tool like Figma?
There are two solutions.
- Download an image from components.ai or screenshot the DOM node
- Manually recreate the gradient
Using an image is faster and easier for one-offs that don't need precision. Manually recreating the gradient in figma is more time-consuming up-front but allows you to re-use said gradient anywhere at any scale and size.
How to
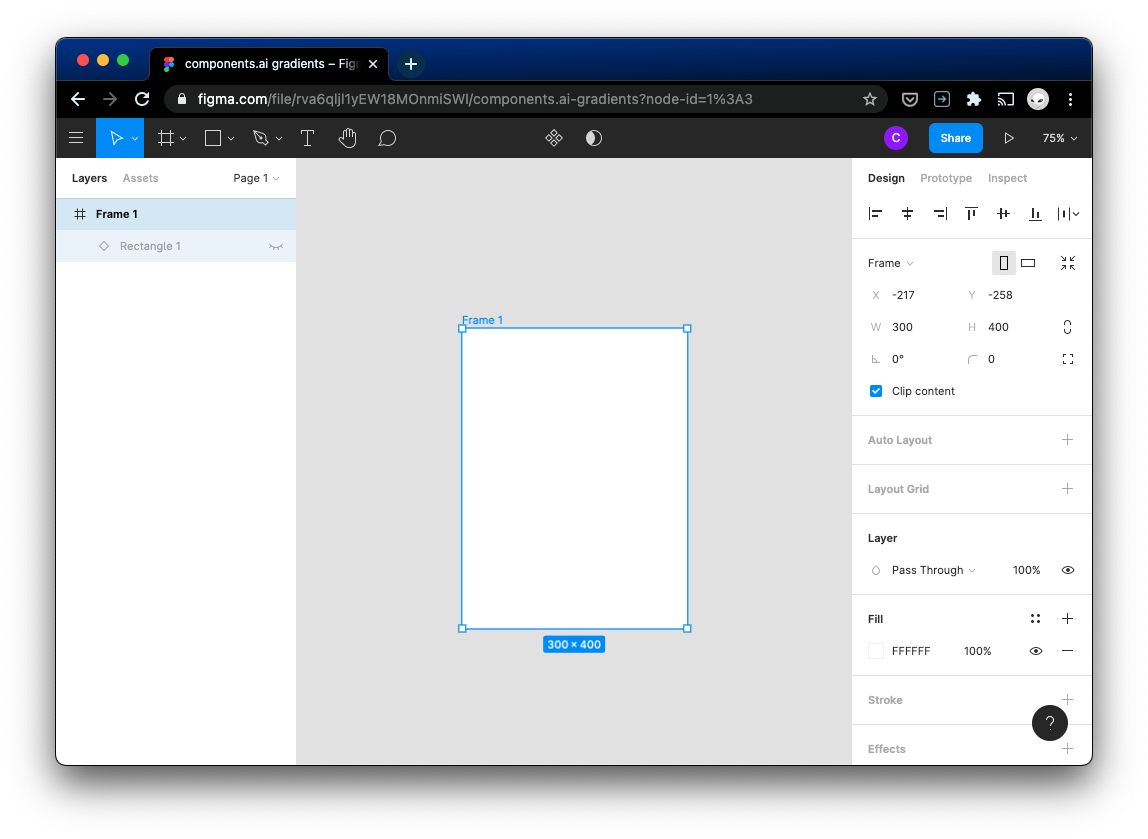
First create a new 300x400 frame. These dimensions aren't required but it makes our math easier in the next step.
components.ai will show us the gradients and metrics we need to use to recreate our gradient. For this example, here's what we're looking at.
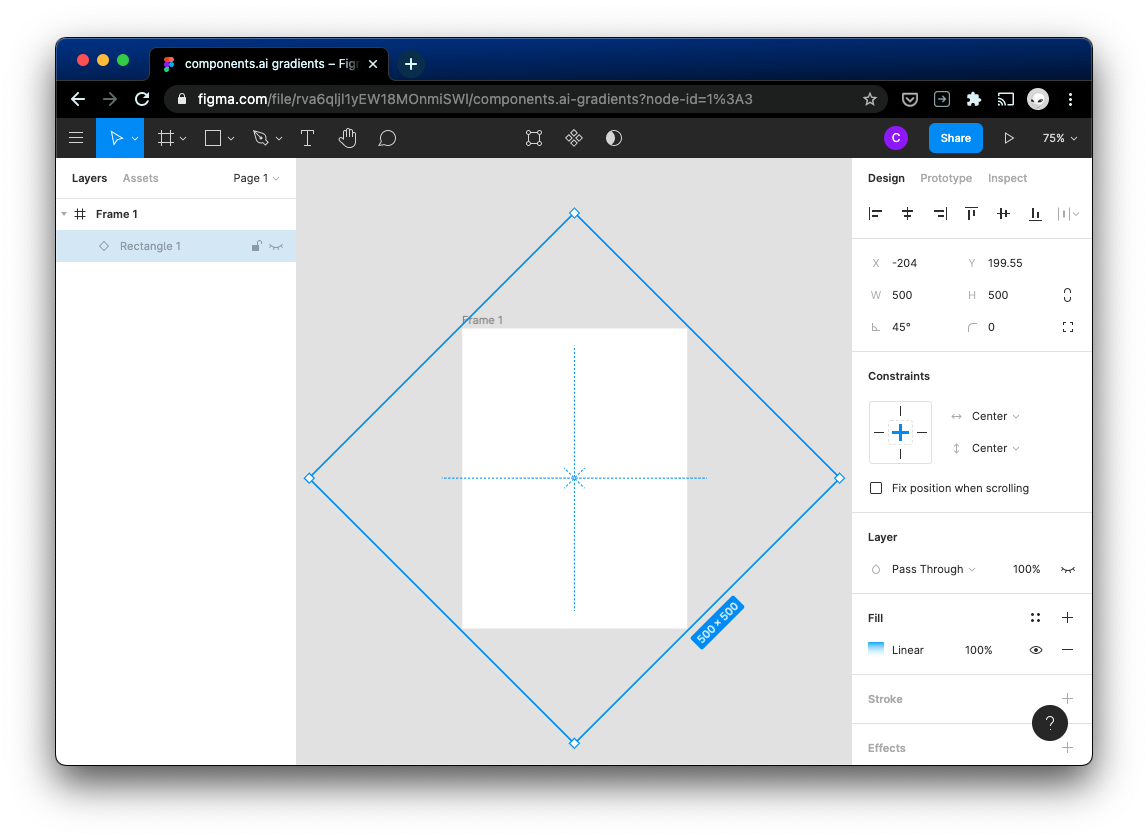
In figma, we'll create a new rectangle for the first gradient. Sizing it to 500 width and height means that when we rotate it, it will fill the frame completely. We can always resize it later if we feel we need to.
Note that if we set the fill for the first gradient layer to a linear gradient, that the rotation angle shown in components.ai (160) doesn't match figma's behavior (-160)
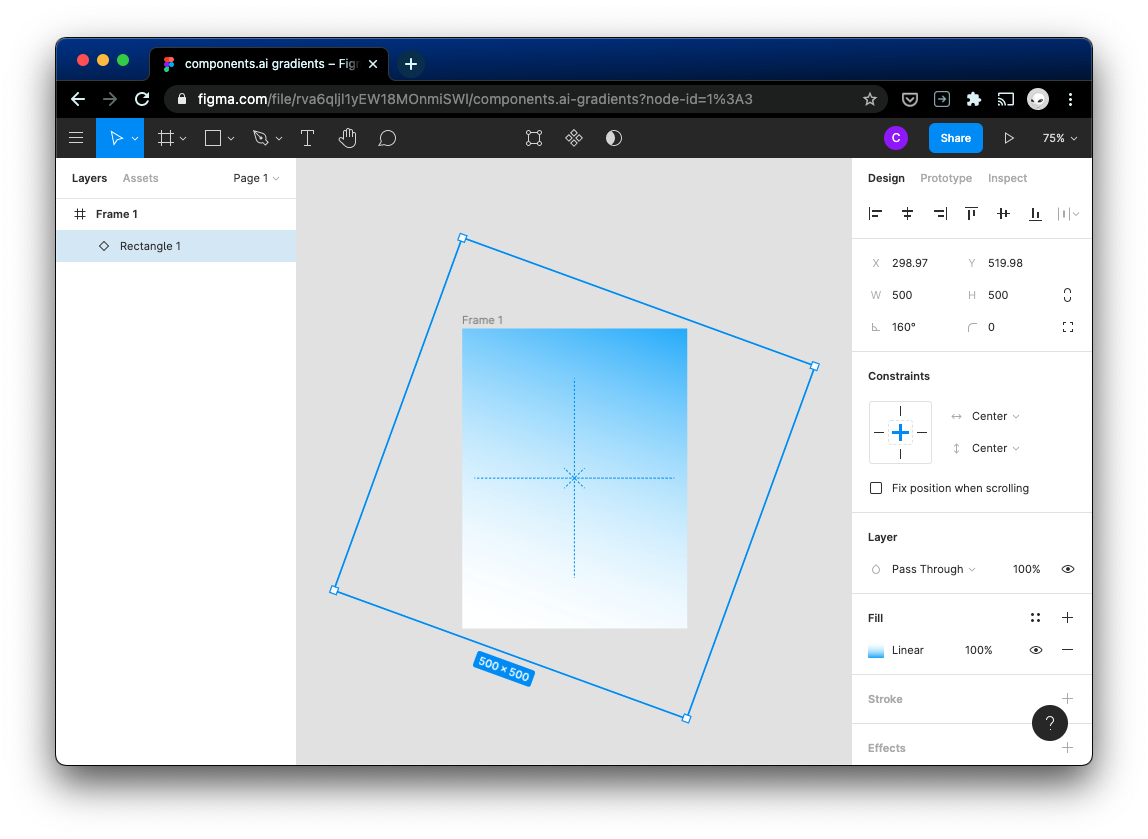
We can continue down the line, creating new rectangles and using linear gradient fills and rectangle rotation until we have a stack of gradients.
Note that figma doesn't seem to support specifying gradient stops, so we have to eyeball it.
When we get down to the radial gradient, we set the fill and offset based off of the compai values, but end up with a cutoff.
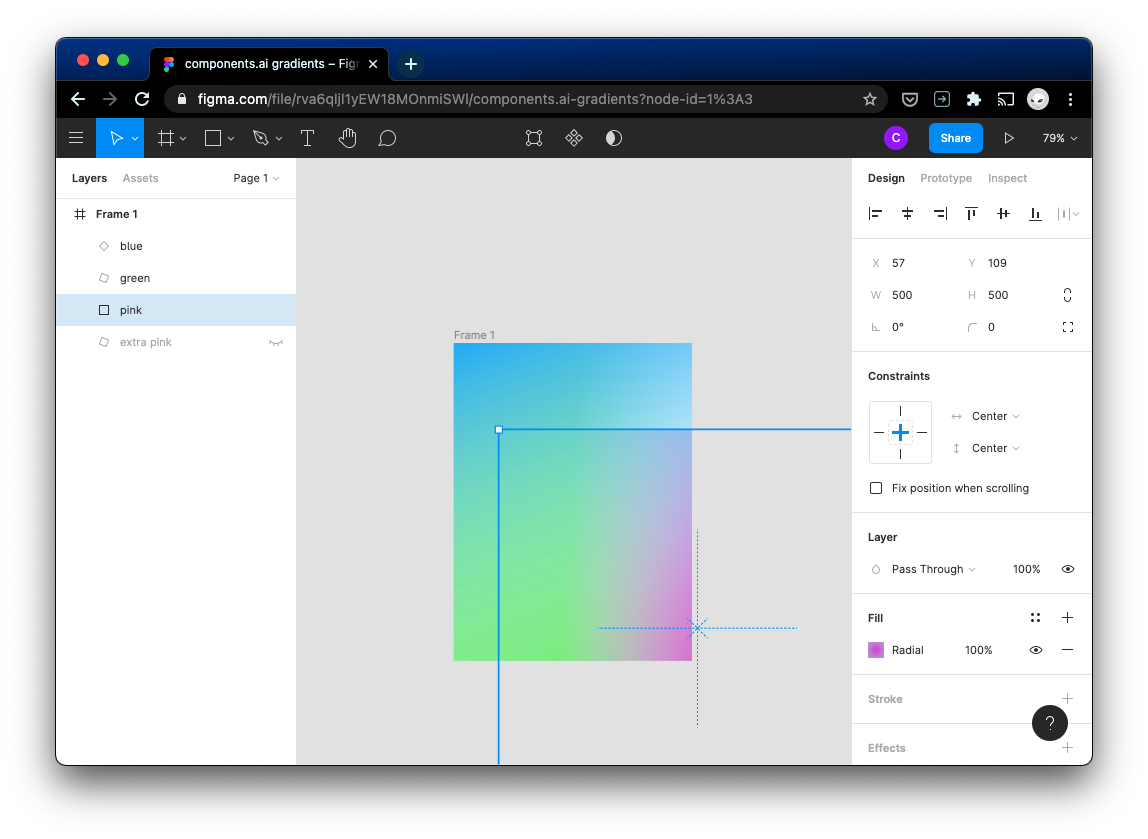
This cutoff can be solved by one additional layer underneath, resulting in this final composition:
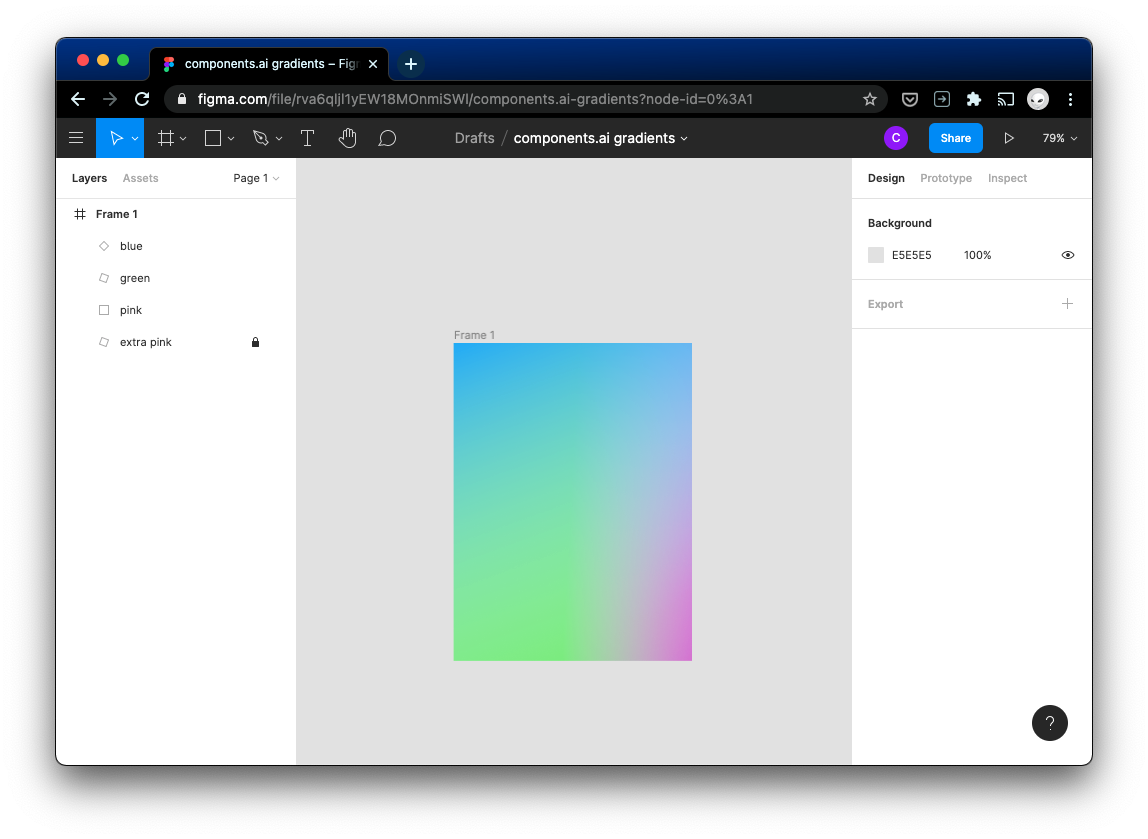
The final image looks like this:

extra
You can check what each of the gradients looks like on compai by removing the others from the composition
Also read more on CSS gradients and angles in figma